After a very busy period I've applied paint to something for the first time in well over a month, and almost the fist blog post in that time as well...
Using a new technique, I think picked up from a comment by Precinct Omega, this was a cheap plastic truck picked up from a charity stall at a fair. Unfortunately I forgot to take a photo before any work started but on the right you can see what colour it used to be - a bit too obviously a toy:
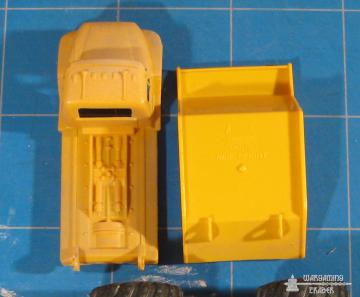
Toy plastic generally won't take paint but for a quick bit to weathering on some scenery we don't want to undercoat it and do a whole paint job from scratch.
So the trick is to spray varnish it with non-gloss varnish - this will adhere to the plastic (assuming it's not greasy) and give the paint something to go onto. I then improvised as the colour was still so vivid and gave it a very light overspray of grey primer and then a touch of white, which is what you can see above on the left - already much duller but still too flat to look 'right'.
Here's the monster dump-truck with some 28mm Infinity figures for scale, with varnish and overspray applied to the bodywork. The wheel hubs give another glimpse of the original colour.

The first step was to start painting in some shading and almost black-lining around the door etc. using Badab Black. This was done by painting a line along each 'crease' such as the top of the wheel-arch and then usin a slightly damp brush to spread and scumble the wash out from the crease into nothing so that the amount of wash increases as you go into the crease. This does require a particular type of slightly matte surface though.


A few more layers of this were applied to build up the tones and a few details picked out like the radiator grill and lights. The inside of the cab had just enough varnish on it to get some paint to stay, to disguise the bright yellow that was shining out.


The bed of the truck was given a few washes of different mixes, mostly some Vallejo grey and dark brown plus some more messy scumbling/washes on the back of the cab. The tipper got a bit more shading as well.


Truck and tipper back together:

Now the whole thing, with the wheel hubs dirtied up a bit as well, next to the unshaded one again for comparison:

In theory the bottom half needs the same technique applied as it's still bare black plastic but it's good enough for scenery use.
Overall I'm very pleased with the technique and will be trying it on a few of the 'brighter' die-cast cars in my scenery collection...
Ian