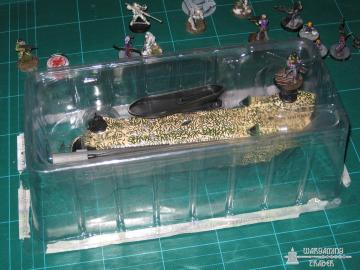
I was walking through the local newsagent the other week and saw this mysterious package attached to a magazine:
Turns out it was a 1/72nd scale die-cast Chinook, part of a collectible helicopters magazine. As I'm always on the look out for more things to clutter up an Infinity battlefield and a Chinook is just the kind of old work-horse design I can see Ariadna using, I picked it up for the princely sum of £7.99.
Scale-wise, 1/72nd is technically too small for 28-32mm models (1/48th tends to work better) but it doesn't look too bad:
Anyway, over the last few days I grabbed some time to prep it for the tabletop, using a similar varnish/weathering & shading/varnish technique as with the monster dump truck.
Here you can see some pairs of images, untouched first and then shaded:
It's a relatively subtle effect and would need to be photographed in a proper light booth for the full effect.
Plus a smidgen of rust effect on the rotors by adding some foundation orange to the recesses and wiping most of it off:
Finished, apart from a further gloss varnish (for protection) and matte varnish (for looks):
The rotor blades are detachable which means they might actually survive a few rounds of being stored away after games...
Meanwhile, some more progress on the OceanBlue Apartments. After working out a system for attaching balcony walls so they could be detached for transport/storage, I ordered 250 small neodymium magnets. Lots of drilling then ensued:
Over the weekend I then sat down with the remaining 30 or so balcony walls and rather than marking them all and drilling everything via the marks, I decided to put together a jig so that the pieces of foamed PVC would be held in the right position automatically. The jig was a spare bit of 3mm foamed PVC with some other bits glued on at right-angles, which was then clamped in place on the mini bench drill. Getting it in the right position was a bit tricky but once it was, drilling a hole in exactly the right position was a simple case of sliding a wall piece into position followed by a smooth turn of the drill lever.
4-5 minutes of drilling and about that again inserting magnets:
Viola! As the drill bit used was a 1.9mm one and the magnets were 2mm diameter, the slight give in the foamed PVC was enough to hold the magnets in position. Although I did give them all a spot of superglue on the rear, just in case.
The next job is to prime them all black, a step which has ha to be put back a bit due to a spray can that has managed to get clogged up inside the can rather than inside the cap!
I'd hoped to have the building with a base coat of blue in time for the Autumn Challenge this weekend, but now I'll settle for getting the balconies undercoated black to match the unpainted perspex. Oh well.
Ian


